


Release time:2020-01-16 18:44 Browse:
Key Steps:
Storage & Handling:
Store screws separately to prevent contact and abrasion (e.g., in dividers or bags).
Avoid mixing different types of screws.
Handle gently; never pour them from containers.
Pre-Installation:
Clean both the screw threads and the tapped hole/nut. Use a tap for internal threads and a die for external threads.
Hand-start first: Always spin the screw or nut by hand for the first few threads to ensure smooth, cross-thread-free engagement.
Use lubricant: Apply a suitable lubricant (e.g., anti-seize compound) to reduce friction and prevent galling, especially with soft materials like stainless steel or aluminum.
Installation & Removal:
Align properly: Ensure the screw axis is perfectly straight with the hole axis before tightening. Never force a screw that is not aligned.
Use the right tools: Prefer socket wrenches for even force distribution. Avoid adjustable wrenches or pliers that can slip and damage the screw head.
Control torque: Use a torque wrench to avoid over-tightening, which can strip threads.
For removal, if stuck, use a penetrating oil and avoid excessive force.
Summary: Clean, align, hand-start, and use proper tools and torque.
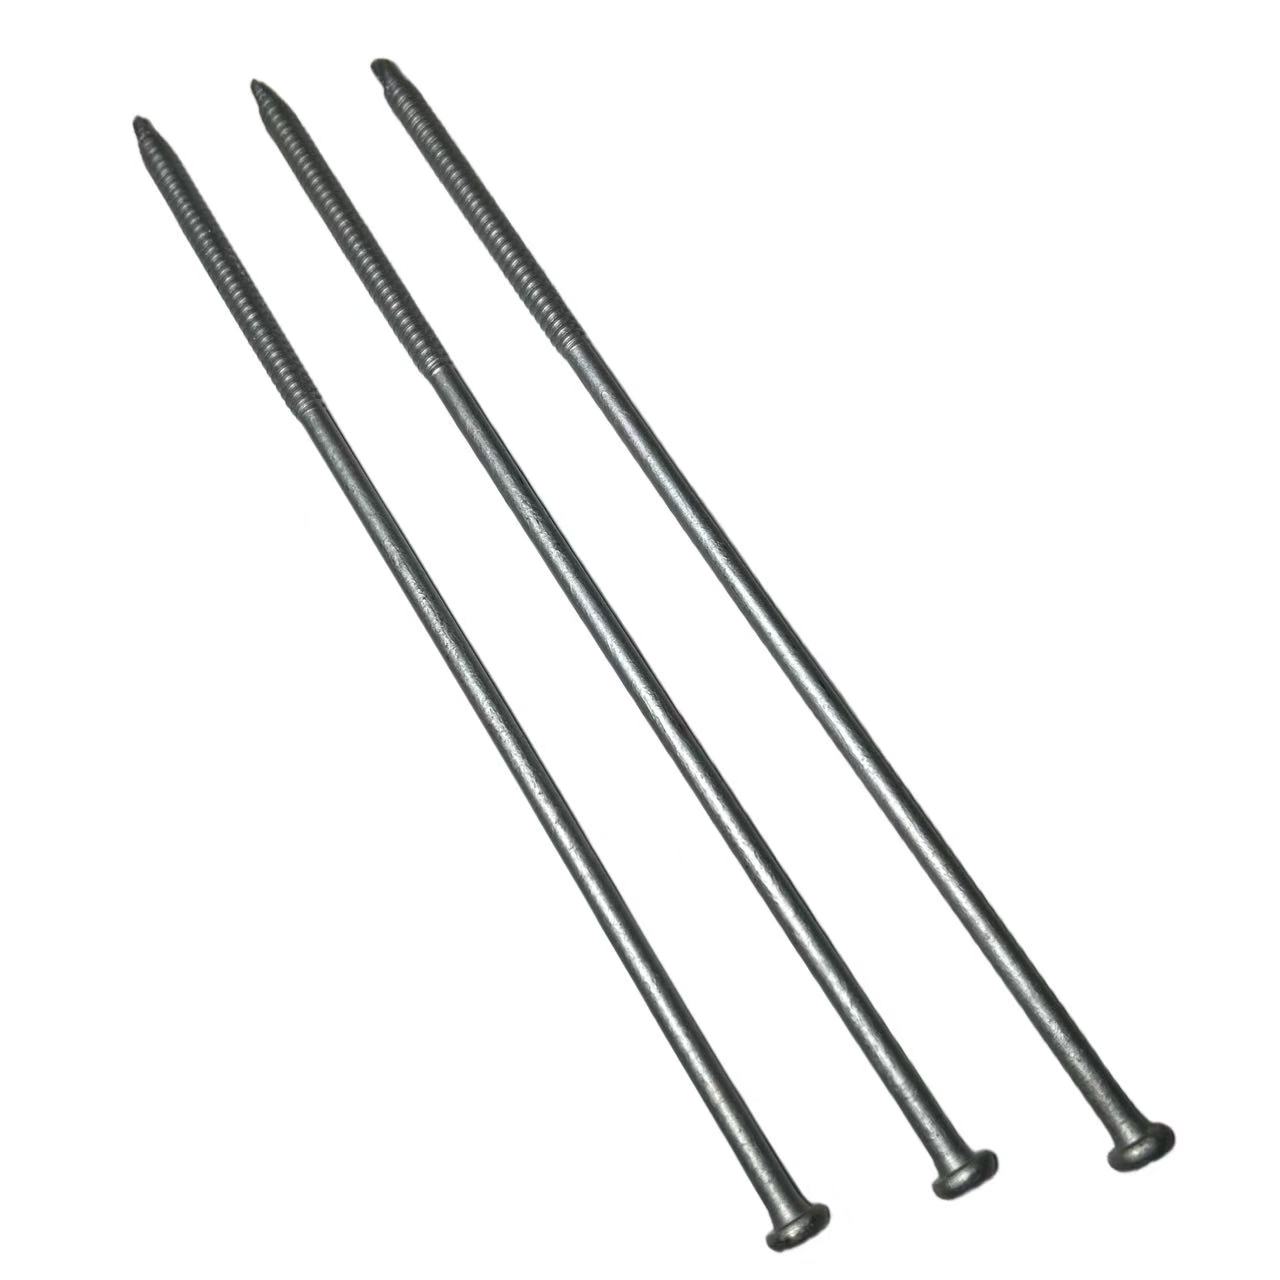
Inspecting extra-long screws (e.g., over 500mm) with thread plug gauges (GO/NO-GO gauges) is challenging due to sagging (deflection) under their own weight. Standard hand-held methods are unreliable.
Correct Procedure:
1. Environmental Control:
Perform inspection in a temperature-controlled environment (20°C / 68°F is standard) to prevent thermal expansion from affecting dimensions.
Allow the screw, gauges, and equipment to stabilize at the ambient temperature for a sufficient time (e.g., 24 hours).
2. Support and Alignment (Most Critical Step):
Place the screw on multiple, adjustable V-blocks or roller supports along its entire length to counteract gravity-induced sagging.
Align the screw into a straight line using dial indicators or a laser alignment tool. The goal is to simulate the screw's ideal, straight condition as if it were installed.
3. Inspection Execution:
GO Gauge Check: Do not spin the gauge down the length. Instead, place the GO gauge on the first few threads and slowly rotate the screw itself. The gauge should travel the entire length under its own weight without binding. For very long screws, a powered roller system may be needed to rotate the screw.
NO-GO Gauge Check: At multiple points along the screw's length (e.g., near ends and middle), attempt to thread the NO-GO gauge by hand. It should not pass more than two full turns.